
In this article, you will learn how to create a very basic Hello World Android Application. If you are already familiar with it then create your app and skip to the next article. Otherwise, simply follow through these easy steps and you will have your first android application ready in no time.
Build and run an android application
- Download the Android Studio and install it.
- Launch Android Studio and select Start a new Android Studio project.

- Select the Empty Activity and click Next. Activity is the screen that a user sees where we can add different UI components to interact with the application. For now, we are going to add our own UI elements so let’s go with the Empty Activity.

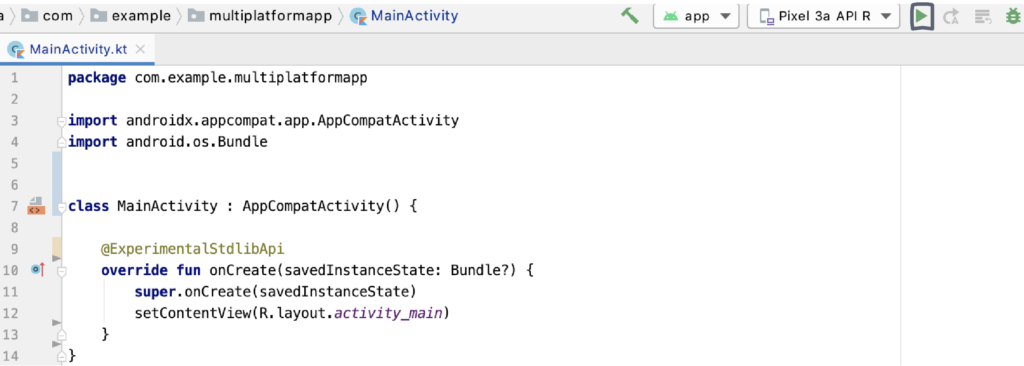
- Give the application name and package name to your project. In this example, I have used the package name as com.example.multiplatformapp. The same package name is going to be used in a shared library so that we can access the code easily. Also, make sure that you select Kotlin as your language and finally click on the Finish button.

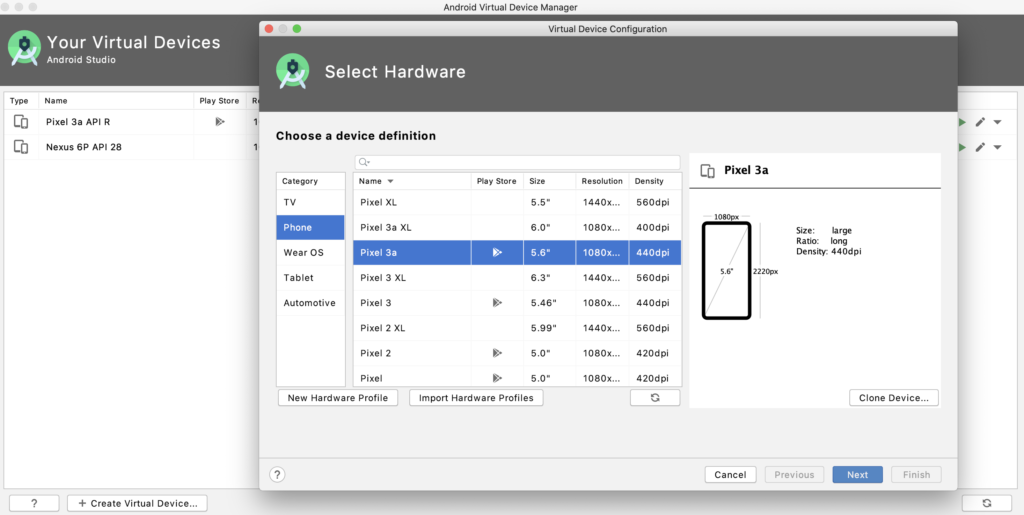
- Once the project is built, you can set up a virtual emulator or your phone to Run the app. For emulator, click on the tabs Tools > ADV manager> Create Virtual Device > Select your Preferred Hardware > Next> Download > Finish.
- You should be now able to run the application using the virtual emulator using the button highlighted in the picture.
When the app is installed in the emulator, your application will appear like this.
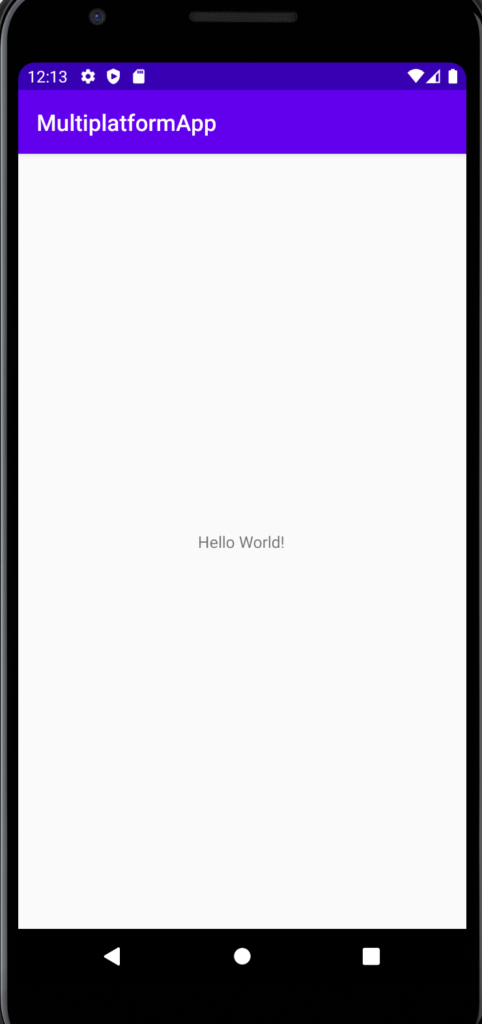
Well done! your android app is ready. “Hello World” is the default message that is shown when the app is running. This UI will be modified in the later section where we will use the shared library to display information from remote API. Let’s go to our next step in the tutorial.
One response
Thanks for the good article, I hope you continue to work as well.